The Makerspace has a vinyl cutters!
Ever wanted to create your own logos? Cut intricate paper patterns? Add decals to your 3D prints? Or cut felt?
Our vinyl cutters have a variety of capabilities to help you complete your projects.
The Titan 3 vinyl cutter is a large scale cutter that can accomodate a variety of projects. It has a maximum width of 24 inches, but can cut banners that span however long you want. The Titan also has very accurate cutting abilities, easily producing intricate details on items.

The Cricut Maker is the perfect hobby level vinyl cutter. Come in today to learn how to use it, or bring in the design that you would like created! Keep reading for directions.

The Cricut Maker accepts the following materials:
Felt
Paper

Vinyl
Cardstock
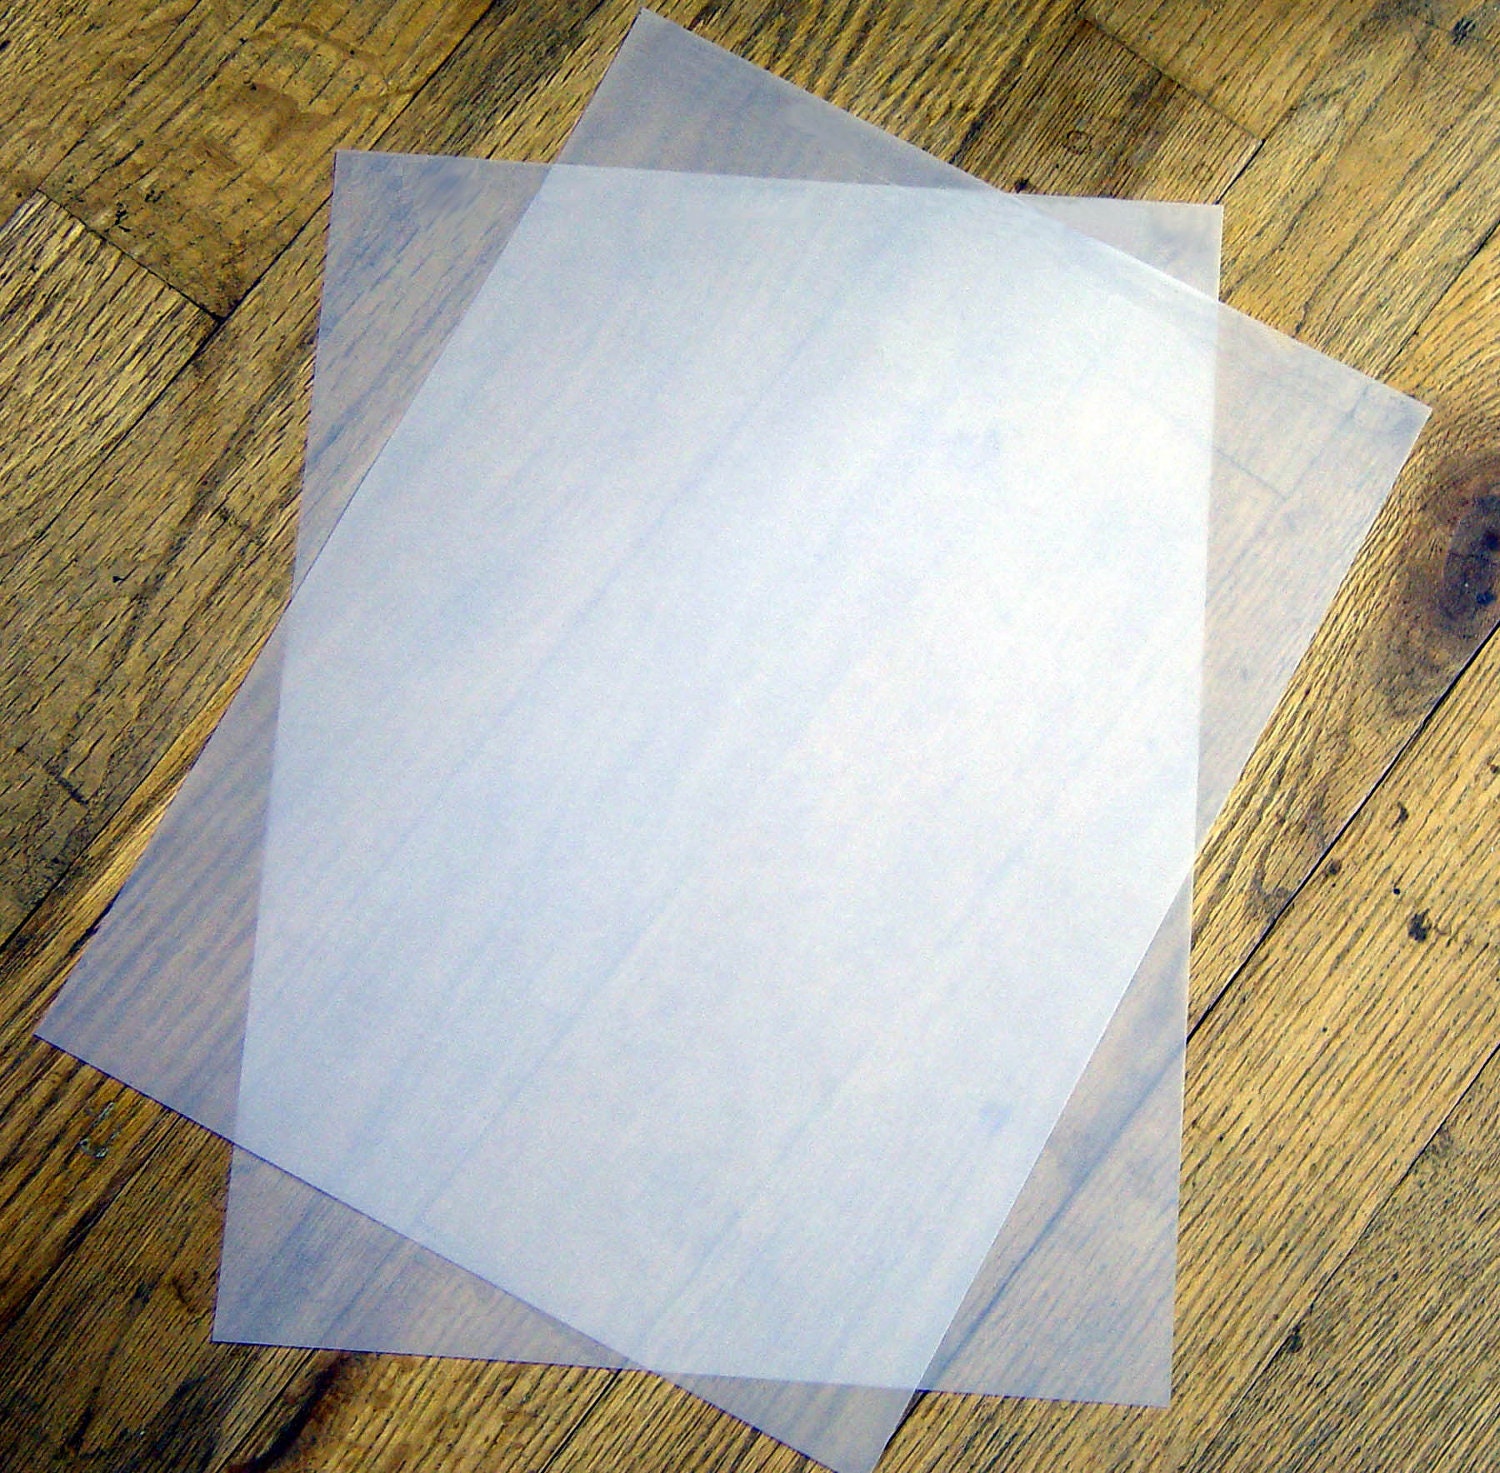
Vellum

1. Create the design that you would like to have made on the vinyl cutter. This design should be created as a vectored object, have easily distinguishable lines and be a solid color. Realistic pictures are not a good source for a cut object. Consider creating a stylized version of those types of images. Good programs for creating vectored objects are Adobe Illustrator or Photoshop (available in the Digital Media Studio), or free tools Inkscape and GIMP. Take a look at the examples below:
The first image is acceptable for the vinyl cutter. The second would not be usable.


2. Make sure that your design is saved in one of the following formats: JPG,PNG, BMP, GIF, or TIF for the Cricut Maker, or SVG or AI for the Titan 3.
3. Once you have your file, bring it to the makerspace. The student assistant can help you with cutting. Materials will be available to purchase for a small fee if needed.
The Cricut and Titan 3 do more than just cut vinyl and paper! The Cricut Maker can also use pens to draw out exact designs on paper and has compatible heat adhesive vinyl to create custom mugs. The Titan 3 can emboss and engrave on certain materials.
Need some inspiration? Check out these ideas!
Silhouette Cameo 3: Vinylcuttingmachines.net
Titan 3: uscutter.com
Appalachian "A": appstate.edu
Appalachian Mountains: srl.appstate.edu
Felt animals: Cat and Dog plushies by Tina D
Paper card: Makezine by Natasha Dzurny
Vinyl laptop sticker: California College of the Arts Hybrid Lab
Cardstock: 3dprinterworld.com
Vellum: Craftychicboutique on Etsy
University Libraries
218 College Street • PO Box 32026 • Boone, NC 28608
Phone: 828.262.2818
