
The makerspace has a variety of electronics available for use. Get some quick start info below or check out our guide to Electronics/Robotics for more in depth information.
Faculty can use the kits available for checkout from the Tech Desk to aid their teaching. Those who are interested in adding an electronic element to their classes or research are able to get help from the library with both resources and introductions to circuitry and programming. Arduinos are excellent for performing sensor driven actions, and Raspberry Pi is great for performing functions and reporting back data. If you are interested in learning about the options available, email Hannah Pope at popehl@appstate.edu.
Raspberry Pi is a minicomputer that can be used for endless projects. Faculty can use them to collect physical data, be the focus of a group project, or just to have students learn a bit about the Linux operating system. Below are the step by step procedures for the Raspberry Pi. If you are interested in getting started, or have a specific project in mind, the Inspire Maker Lab can help.
1) Start by checking out a Raspberry Pi kit from the Tech Desk or buying your own board. In order to work with the Raspberry Pi, you need to have the following items:


The Tech Desk Raspberry Pi kit contains the board, SD card and HDMI cable.
2) Next, using another computer to download and install the Raspbian software onto the SD card. This will enable your Raspberry Pi board to become a computer. For directions on how to install the Raspbian operating system, follow this Quickstart Guide from RaspberryPi.org.
3) Once you have imaged your SD card, plug it into the SD slot on the Raspberry Pi board. Then connect the HDMI cable from the board to the monitor. Connect the mouse and keyboard to the USB ports on the board. If you plan to use internet, connect a USB wi-fi adapter (unless using a Raspberry Pi 3) or an ethernet cord. Finally, plug in the micro USB power supply into the wall. This will activate the Raspberry Pi. For more details on this, see the Hardware Set Up page on RaspberryPi.org.
5) Start creating your projects!


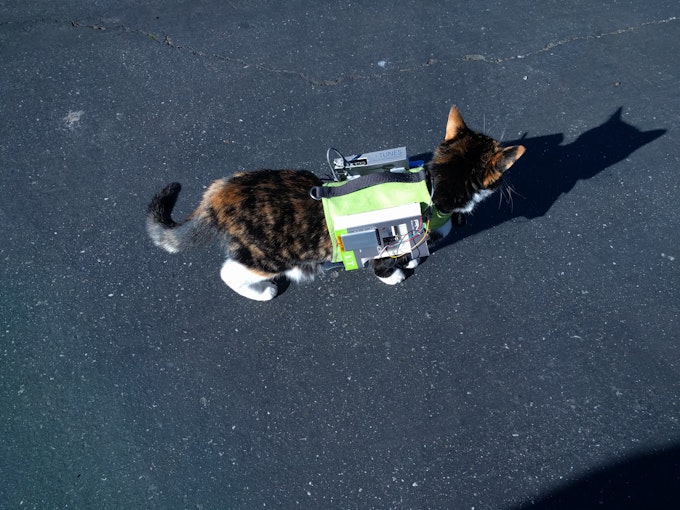
Create a smart mirror which will talk to you, tell you the time and temperature and more, make your own smartphone, never forget an event with a wall calendar and weather system, or find out where your cat goes during the day.
Raspberry Pi icons (board, tv, cables, card, keyboard, mouse) by: Raspberry Pi Foundation via creative commons license.
Raspberry Pi pic: Raspberry Pi foundation via creative commons license.
Smart Mirror by: Bradley Melton
PiPhone by: David Hunt
Wall calendar by: Tom Scott via Make Magazine and Reddit
Kitty tracker by: Jeremy Wall via hackster.io
Another powerful, yet easily learned electronic tool is Arduino - a microcontroller with its own programming platform. Faculty can learn to use Arduino through visiting the Inspire Maker Lab or checking out an Arduino kit from the Tech Desk. The Library also has an extensive collection of print and online materials to help you learn the basics. Before you get started, make sure to download the Arduino software onto whichever computer you will be using (the software is free and open source!) Also, here is a quick reference guide to Arduino.
The following directions will help you get started with Arduino:
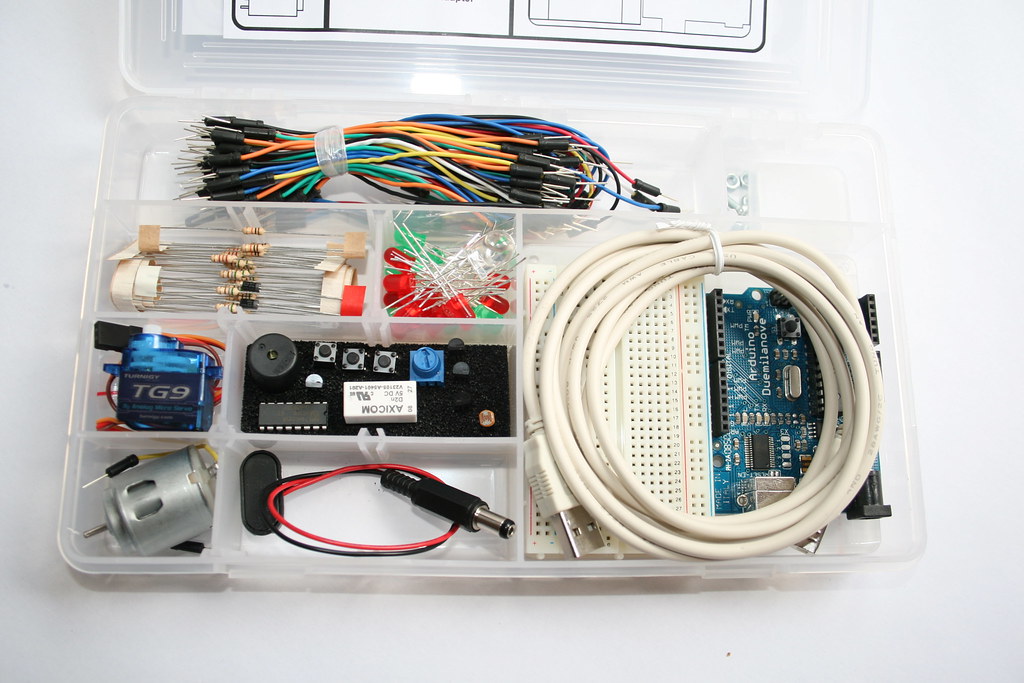
1. Check out one of the Arduino kits from the Tech Desk on the Lower Level of Belk Library. The Arduino kits have everything needed for beginners up to experienced tinkerers.
2. Read through the accompanying book. There are lessons and projects designed to teach you Arduino while getting hands on experience.
3. Once you have the basics, the possibilities are endless! Use Arduino for a wide variety of projects, including some of the ones below. Don't be afraid to experiment with new and different technologies!


Monitor when your plant needs water then automatically add more, create a can smasher to recycle more easily, turn your room fan into a LED masterpiece, enhance your Halloween props, and more!
Like Arduino? We also have the Intel Edison Internet of Things add on, or move on to the Raspberry Pi for more computer based projects. Not sure whether Arduino or Raspberry Pi will work for your project? Check out Make Magazine's helpful tips on choosing the best board. Need help? Contact Hannah Pope at popehl@appstate.edu for any questions!
Breadboard: By oomlout (BREB-01 (Breadboard)) [CC BY-SA 2.0 (http://creativecommons.org/licenses/by-sa/2.0)], via Wikimedia Commons
Jump wires: By oomlout (A few Jumper Wires) [CC BY-SA 2.0 (http://creativecommons.org/licenses/by-sa/2.0)], via Wikimedia Commons
Resistor: By Thiagoalmeidasa (http://www.ladyada.net/learn/arduino/lesson3.html) [Public domain], via Wikimedia Commons
Red LED: By oomlout (5mm Red LED - LED-05R) [CC BY-SA 2.0 (http://creativecommons.org/licenses/by-sa/2.0)], via Wikimedia Commons
RGB LED: By oomlout (RGB LED - RGBL-01-05) [CC BY-SA 2.0 (http://creativecommons.org/licenses/by-sa/2.0)], via Wikimedia Commons
sensors: Mysensors.org
Arduino kit: oomlout via Flickr.
Plant project: Eirik via Make Magazine
Can crusher: Simon Monk via Make Magazine
LED fan: Alejandro de Cura via Make Magazine
Jack Skellington: Dale Rooney via Make Magazine
 Arduino
by
Arduino
by
 Getting Started with Arduino
by
Getting Started with Arduino
by
 Arduino Programming in 24 Hours, Sams Teach Yourself
by
Arduino Programming in 24 Hours, Sams Teach Yourself
by
 Programming Arduino Next Steps
by
Programming Arduino Next Steps
by
How to program your Raspberry Pi:
For most of the software available on Raspbian, look at this guide for more information.
 Raspberry Pi
by
Raspberry Pi
by
 Raspberry Pi Projects
by
Raspberry Pi Projects
by
 Raspberry Pi Essentials
by
Raspberry Pi Essentials
by
 Raspberry Pi for Dummies
by
Raspberry Pi for Dummies
by

